Document Setup
The Document Setup drawer is the central configuration panel for your document. It contains five tabs that control everything from metadata and page layout to typography and advanced export options. Open it with the gear icon in the toolbar, the keyboard shortcut Cmd/Ctrl+Shift+D, or through the command palette. Changes you make apply immediately to the live preview.
Opening Document Setup
There are three ways to open the Document Setup drawer:
- Gear icon — Click the gear icon in the top toolbar to toggle the drawer open or closed.
- Keyboard shortcut — Press Cmd/Ctrl+Shift+D to open or close the drawer from anywhere in the editor.
- Command palette — Open the command palette (Cmd/Ctrl+K) and type "Document Setup" to find and activate the command.
The drawer slides in from the right side of the screen. While it is open you can continue editing your Markdown in the editor pane. Every change you make in the drawer is reflected immediately in the preview, so you can see the effect of your adjustments in real time.
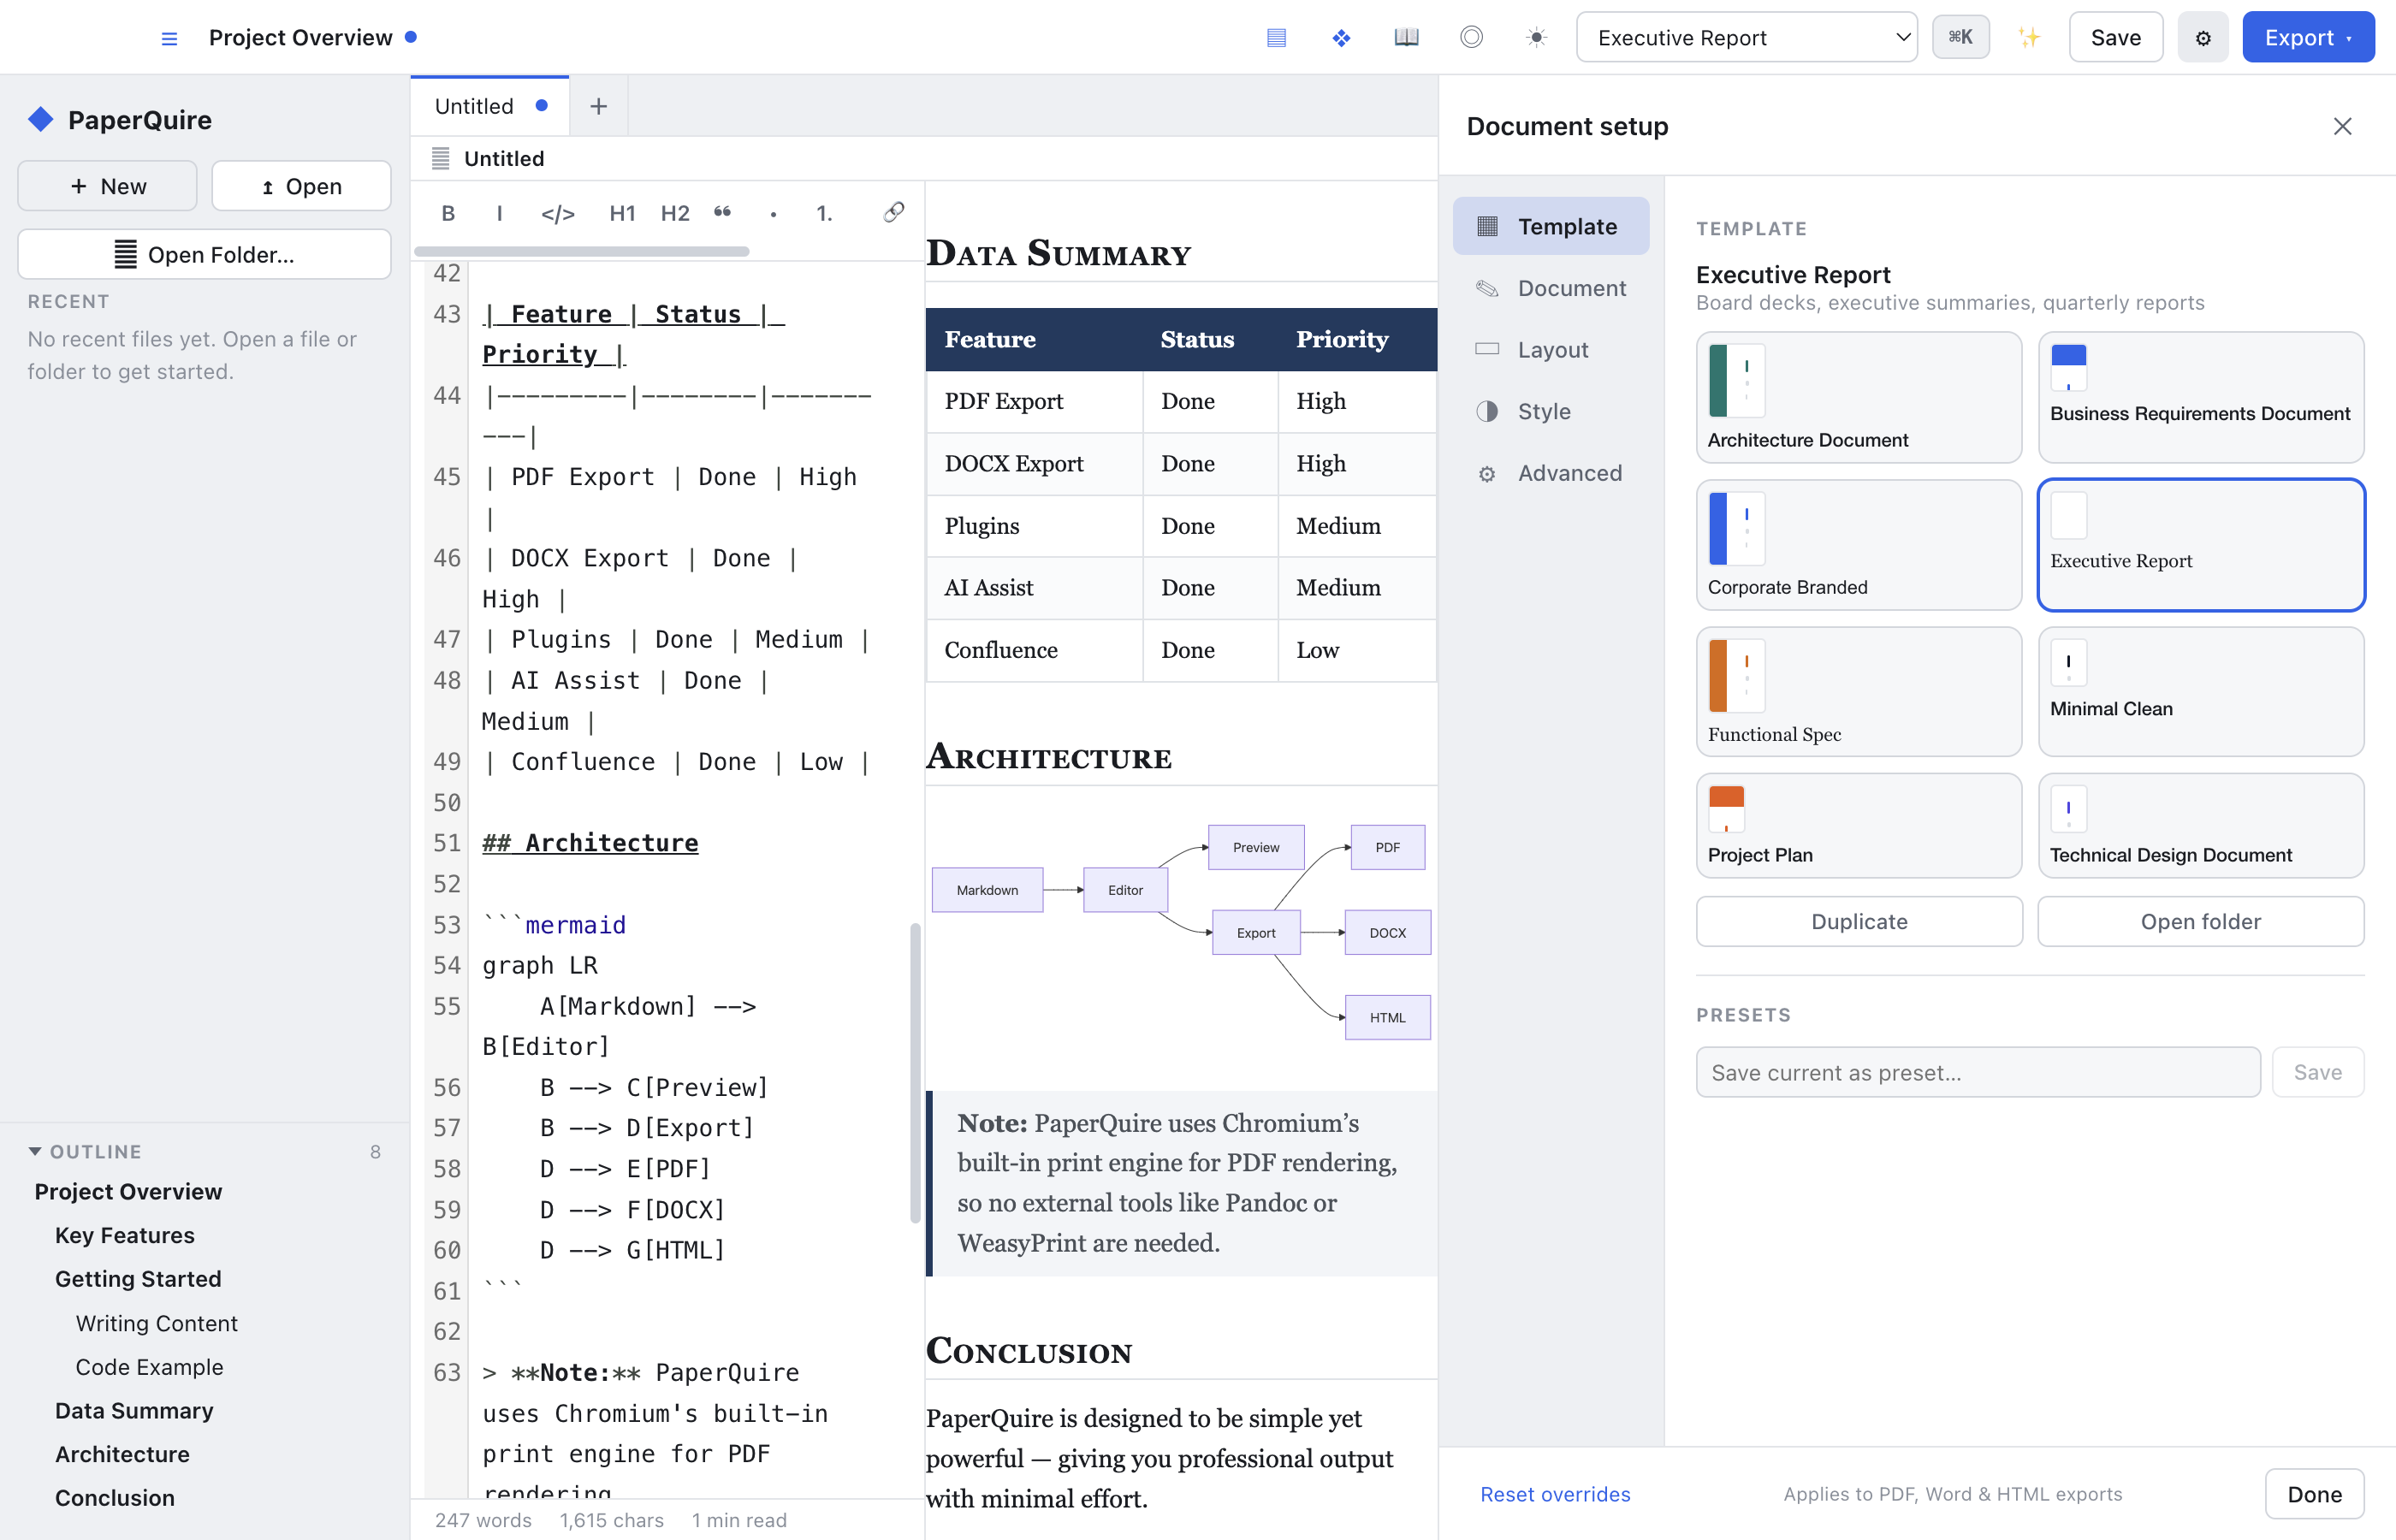
Template Tab
The Template tab lets you select a starting point for your document's appearance. You can choose from built-in templates or any custom templates you have created.
- Template selection — Browse the list of available templates and click one to select it. A preview thumbnail shows what each template looks like before you apply it.
- Preview before applying — Hover over or click a template to see a quick preview of its fonts, colors, and page structure without committing to it.
- What templates control — Templates define the font family, color palette, header and footer layout, and overall page structure. Selecting a template sets the baseline that the other tabs can then override.
For more detail on creating, editing, and sharing templates, see the Templates page.
Document Tab
The Document tab is where you set the metadata that identifies your document. These values appear on the cover page (if enabled) and in headers and footers.
- Title — The main document title. This is displayed prominently on the cover page and in the running header or footer, depending on your layout settings.
- Subtitle — An optional secondary title shown beneath the main title on the cover page.
- Author — The document author name. Appears on the cover page and can be included in the footer.
- Date — The document date. Defaults to today but can be set to any value. Displayed on the cover page.
- Version — An optional version string (e.g., "v2.1" or "Draft 3") displayed on the cover page alongside the date.
- Language — Set the document language (e.g., English, French, German). This controls hyphenation rules in the generated PDF so that words break correctly at line endings.
Layout Tab
The Layout tab controls the physical dimensions and structure of the printed page.
- Paper size — Choose from standard sizes (Letter, A4, Legal) or enter a custom width and height in inches or millimeters.
- Margins — Set the top, right, bottom, and left margins independently. Values are specified in inches. The preview updates in real time as you adjust margins.
- Orientation — Switch between portrait (vertical) and landscape (horizontal) orientation.
- Columns — Choose a single-column or two-column layout. Two-column mode is useful for newsletters, brochures, or dense reference documents.
- Header content — Configure what appears in the page header: document title, author, date, custom text, or nothing.
- Footer content — Configure what appears in the page footer, including page numbers.
- Page numbers — Enable or disable page numbers and choose their position (left, center, or right) and format (e.g., "1", "Page 1", "1 / 5").
Style Tab
The Style tab lets you fine-tune the visual appearance of your document. Settings here override the defaults defined by the selected template, applying only to this document.
- Typography — Set the body font family, base font size, and line height. Heading fonts can be set independently from body text.
- Heading styles — Control the size, weight, and color of each heading level (H1 through H6). You can also toggle features like H1 underlines or H2 left-border accents.
- Colors — Set the primary brand color, an accent color, and the default text color. These values are applied throughout the document to headings, links, borders, table headers, and other styled elements.
- Link color — Choose a distinct color for hyperlinks, or let them inherit the primary color.
- Code block theme — Select a syntax highlighting theme for fenced code blocks (e.g., light, dark, GitHub, Monokai).
- Table style — Choose between plain, striped (banded rows), bordered, or minimal table styles.
Advanced Tab
The Advanced tab provides power-user options for controlling document generation behavior.
- Table of contents — Toggle the table of contents on or off. When enabled, set the depth from 1 (H1 only) to 4 (H1 through H4). The TOC is generated automatically from your Markdown headings.
- Cover page — Enable or disable the cover page. When enabled, the cover page uses the title, subtitle, author, date, and logo from the Document tab.
- Page break before H1 — When enabled, every top-level heading (
#) starts on a new page. This is useful for documents with distinct chapters or sections. - Custom CSS injection Pro — Add your own CSS rules that are applied on top of the template and style settings. Use this for one-off tweaks that are not covered by the other controls.
- Raw HTML toggle — By default, raw HTML in your Markdown is stripped for safety. Enable this option if you need to include inline HTML elements such as
<details>,<summary>, or custom<div>wrappers. - Export validation rules — Configure checks that run before PDF generation, such as requiring a title, enforcing a maximum page count, or flagging missing images. Validation warnings appear in the status bar.